Contouring and highlighting have become incredibly popular in the beauty world in recent years. While these techniques can transform your look and enhance your features, they can also be a bit tricky to master.
What is contouring and highlighting?
Contouring and highlighting are makeup techniques used to enhance the natural features of the face.
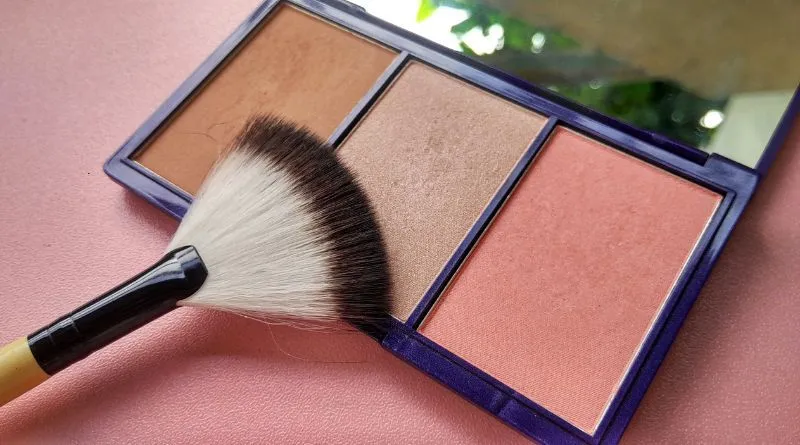
Contouring involves using a darker shade of makeup to create shadows, which can be used to create the illusion of a slimmer face, define the cheekbones, and sculpt the jawline. The aim of contouring is to create depth and dimension to the face, and to highlight or bring out certain areas.
Highlighting, on the other hand, involves using a lighter shade of makeup to bring out certain areas of the face. It’s used to add radiance, dimension, and glow to the face. Highlighter can be used on the high points of the face, such as the cheekbones, brow bone, and bridge of the nose, to create a bright, youthful, and lifted look. The aim of highlighting is to enhance and draw attention to certain areas of the face.
Contouring and highlighting are often used together to create a balanced, natural-looking makeup look that enhances the features of the face.
Here are some dos and don’ts of contouring and highlighting to help you achieve a flawless look.
The Dos of Contouring and Highlighting:
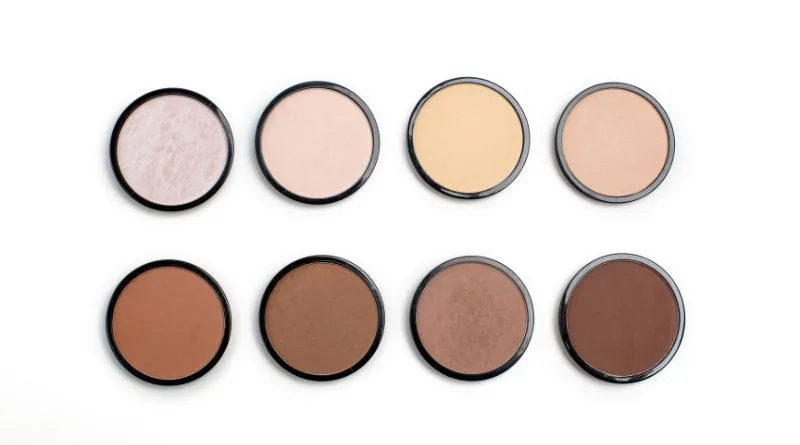
- Do Choose the Right Shade: When choosing a contour or highlight shade, it’s essential to select the right color for your skin tone. Opt for a shade that’s one or two shades darker than your natural skin tone for contouring and one or two shades lighter for highlighting.
- Do Blend Well: Blending is the key to achieving a natural-looking contour and highlight. Use a blending brush or a damp beauty sponge to blend the product into your skin seamlessly.
- Do Use the Right Tools: Using the right tools can make a significant difference in the outcome of your contour and highlight. Use a small, angled brush for precise application and a fluffy brush for blending.
- Do Follow Your Natural Features: When contouring, follow the natural contours of your face. For example, apply the contour product under your cheekbones, along your jawline, and on the sides of your nose.
- Do Start with a Light Hand: It’s always better to start with a light hand when applying contour and highlight. You can always build up the product to achieve the desired look.
The Don’ts of Contouring and Highlighting:
- Don’t Overdo It: Too much contour and highlight can look harsh and unflattering. Use a light hand and build up the product slowly.
- Don’t Use the Wrong Shade: Using a shade that’s too dark or too light can make your contour and highlight look fake and unblended.
- Don’t Skip the Blending: Blending is crucial when it comes to contouring and highlighting. Skipping this step can result in a patchy and uneven look.
- Don’t Forget to Set: Set your contour and highlight with a powder to ensure that it stays in place all day. This step is especially important if you have oily skin.
- Don’t Use Shimmer Everywhere: While a bit of shimmer can add a beautiful glow to your look, using too much shimmer everywhere can make your face look oily and overdone.
Also Read: The best drugstore makeup products that actually work
FAQs:
Here are some frequently asked questions about Contouring and Highlighting
Q1: What is contouring and highlighting?
A: Contouring and highlighting are makeup techniques used to enhance the natural features of the face. Contouring involves using a darker shade of makeup to create shadows, while highlighting involves using a lighter shade of makeup to bring out certain areas of the face.
Q2: What are some common mistakes to avoid when contouring and highlighting?
A: Some common mistakes to avoid include using the wrong shade, skipping the blending step, and using too much product. It’s important to follow the natural contours of the face and to start with a light hand before building up the product slowly.
Q3: What tools are necessary for contouring and highlighting?
A: Some essential tools for contouring and highlighting include a small, angled brush, a fluffy blending brush, and a damp beauty sponge. It’s also helpful to have a powder to set your contour and highlight in place.
Q4: Can contouring and highlighting be used for all skin types?
A: Yes, contouring and highlighting can be used for all skin types. However, it’s important to choose the right shade and product for your skin tone and to prep your skin properly before applying any makeup.
Q5: How do I know where to apply contour and highlight on my face?
A: To apply contour, follow the natural contours of your face, including under the cheekbones, along the jawline, and on the sides of the nose. To apply highlight, focus on the high points of your face, including the cheekbones, brow bone, and bridge of the nose.
Conclusion:
Contouring and highlighting are great techniques to enhance your facial features and create a flawless look. However, it’s important to follow some dos and don’ts to achieve the desired outcome. The key is to choose the right shade, use the appropriate tools, and blend well. Additionally, it’s important to avoid common mistakes such as overdoing it, using the wrong shade, and skipping the blending step. By following these guidelines, you can achieve a natural-looking contour and highlight that brings out the best in your features. Don’t be afraid to practice and experiment to find the techniques and products that work best for you.